
Are you interested in learning more about rod holders for boat.
Are you an avid angler who loves spending time on your boat, but find it challenging to manage your fishing rods? Installing customized rod holders on your boat can be a game-changer! Not only will it keep your rods organized and easily accessible, but it will also enhance your overall fishing experience. In this DIY project, we will guide you through the process of installing customized rod holders on your boat, allowing you to focus on what you love most - catching fish!
Gather the Necessary Tools and Materials
Before diving into the installation process, it's essential to gather all the tools and materials you'll need. Here's a list of items you should have:
- Drill
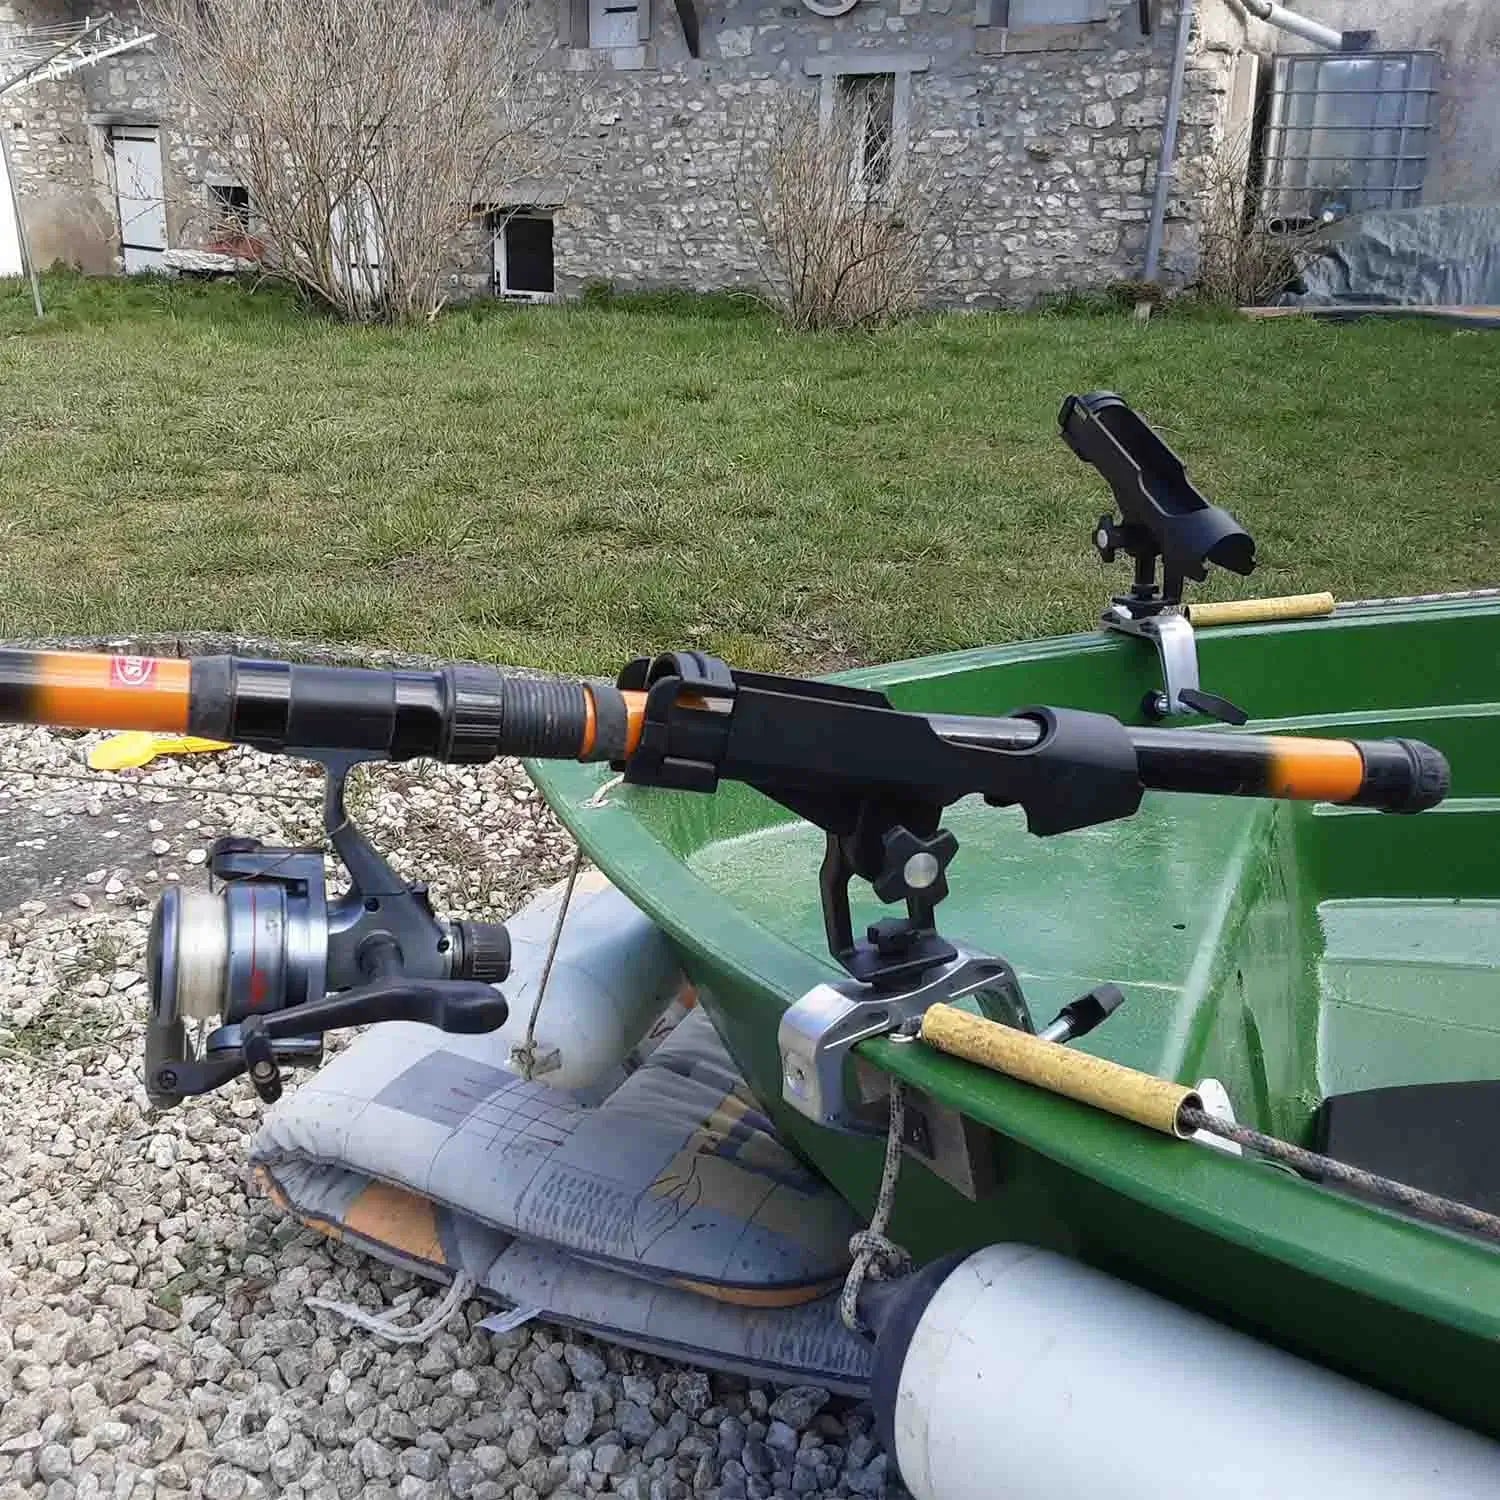
- Marine-grade stainless steel rod holders
- Measuring tape
- Pencil or marker
- Masking tape
- Screwdriver
- Stainless steel screws
- Sealant
Choose the Perfect Location
When it comes to installing rod holders on your boat, choosing the right location is crucial. You want to ensure that they are easily accessible and won't interfere with other equipment or movement on the boat. Consider the following factors:
- Accessibility: Select a location where you can easily reach your fishing rods without any obstructions.
- Balance: Distribute the rod holders evenly on both sides of the boat to maintain balance.
- Sturdiness: Look for areas on your boat that are structurally strong enough to support the weight and pressure of the rod holders.
Once you've identified the ideal location, mark it using a pencil or marker. You can also use masking tape to create a visual outline of the rod holder's position.
Prepare for Installation
Now that you have chosen the location, it's time to prepare for the installation. Start by measuring the diameter of your rod holders and select an appropriate drill bit size. Pre-drill the holes at the marked locations to prevent the gel coat or fiberglass from cracking. Remember to wear protective eyewear and gloves during this process.
After pre-drilling the holes, apply a marine-grade sealant around the edges to prevent water from seeping into the holes and causing damage to your boat. This step is crucial for maintaining the integrity of your boat's structure.
Install the Rod Holders
Now comes the exciting part - installing the rod holders! Place the rod holders into the pre-drilled holes and align them properly. Use stainless steel screws to secure the rod holders in place. Make sure to tighten the screws firmly, but be cautious not to overtighten and damage the boat's surface.
Once the rod holders are securely installed, give them a gentle tug to ensure they are stable and won't come loose during your fishing trips. It's always better to be safe than sorry!
Repeat the installation process for each rod holder you plan to install on your boat. Remember to maintain an equal distance between them to achieve a balanced and aesthetically pleasing look.
Conclusion
Congratulations! You have successfully completed the DIY project of installing customized rod holders on your boat. Now, you can enjoy a more organized and convenient fishing experience. Remember to always prioritize safety and double-check the stability of your rod holders before heading out on the water.
For more information and inspiration on DIY projects related to rod holders for boats, check out the following credible sites: